Windows Firewall is a utility included with all recent versions of Windows. It includes options to open and close ports, allow specific ports and programs through the firewall, which is the equivalent of “port forwarding” on a Windows Server or Windows VPS that is not behind a NAT device. In this guide we will show you how to forward a specific port on a Windows VPS or dedicated server.
How To Port Forward on Windows VPS
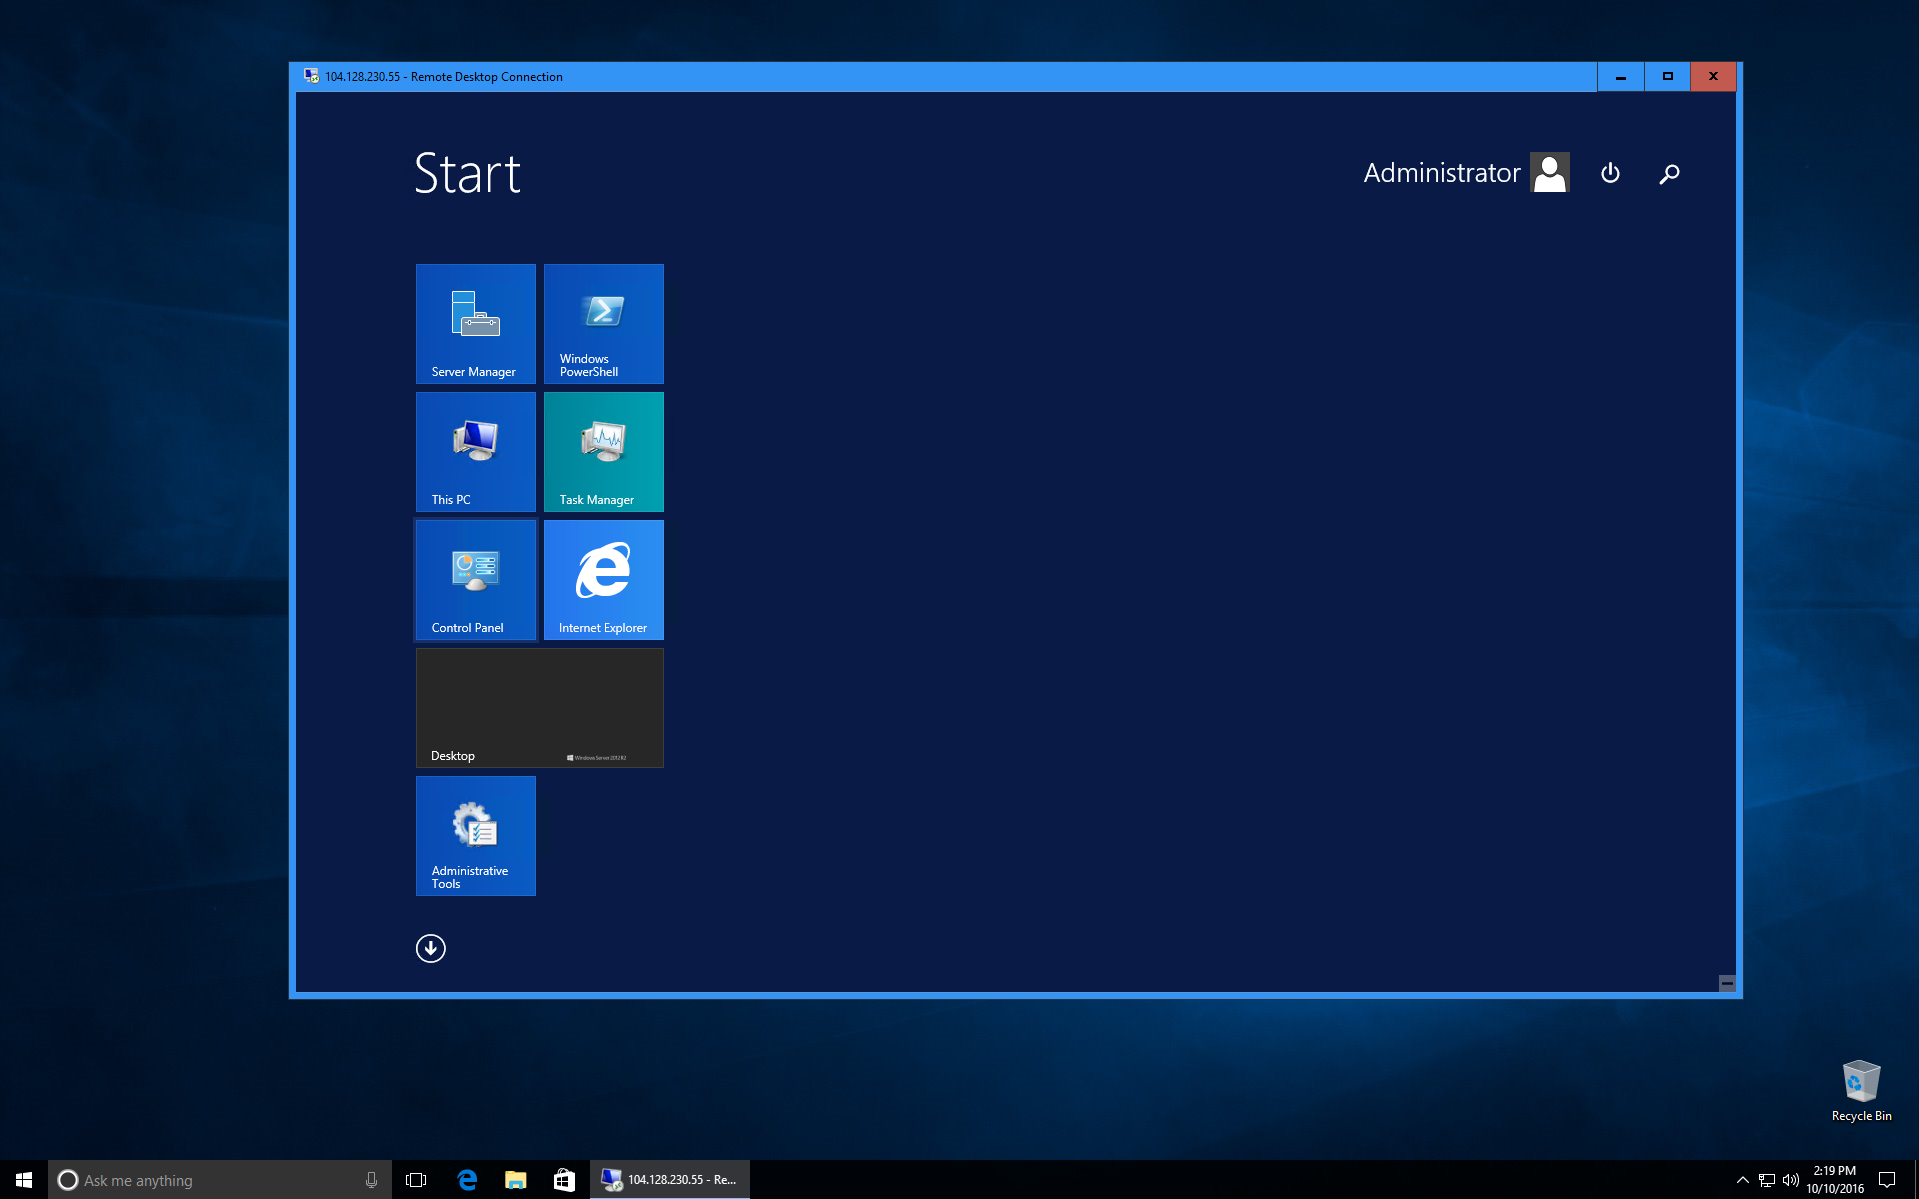
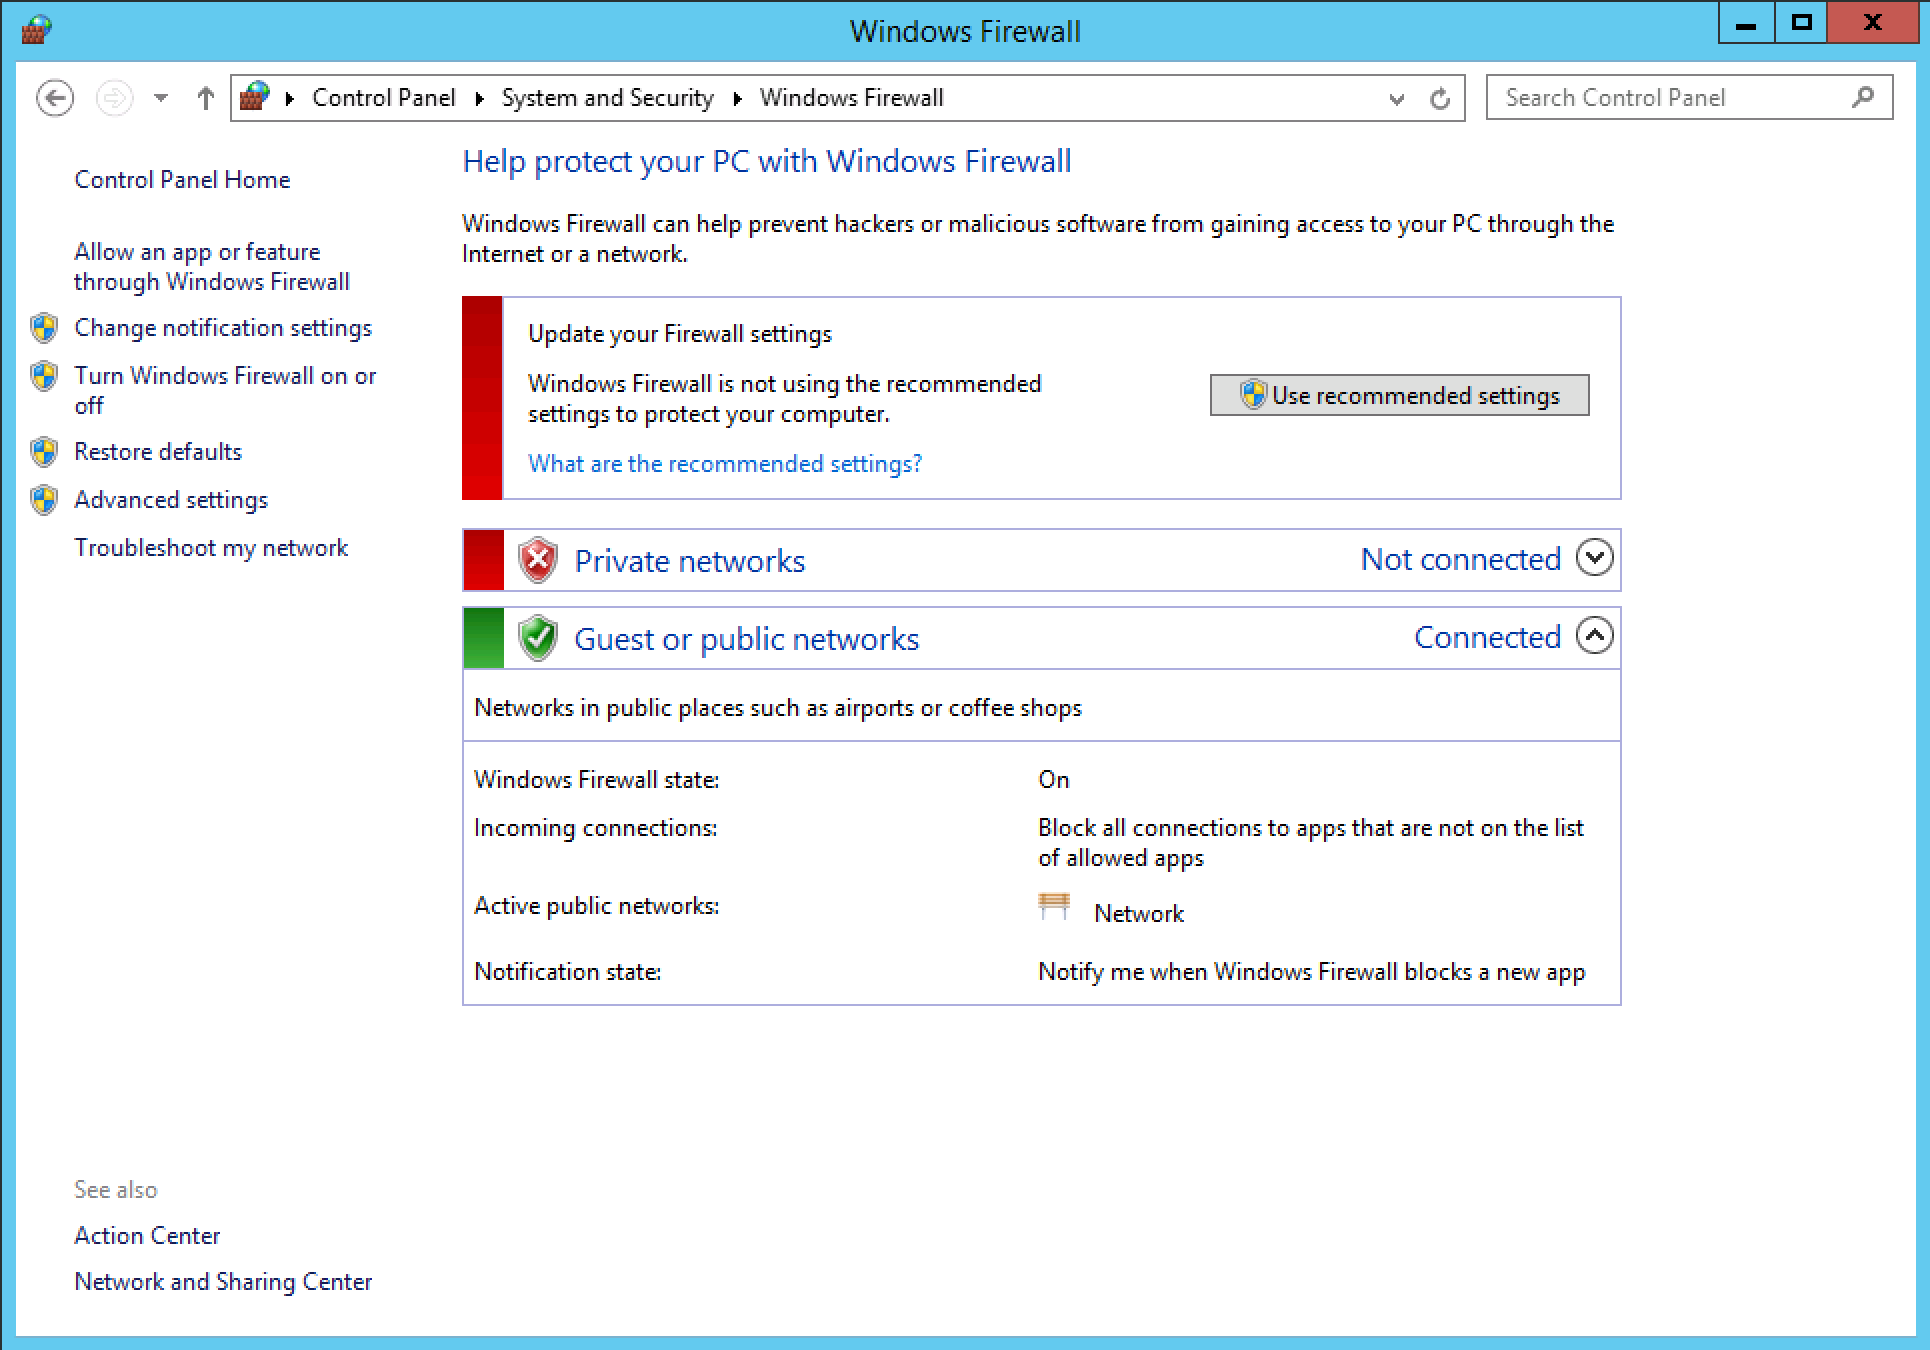
First, open Control Panel and navigate to System & Security. Then, open Windows Firewall. In the left-hand menu, click “Advanced settings”.
The Advanced Security panel will appear. In the left-hand menu, there are two types of rules:
- Inbound Rules: Rules that deny or allow traffic coming in to the server from outside.
- Outbound Rules: Rules that deny or allow traffic going out to the network from the server.
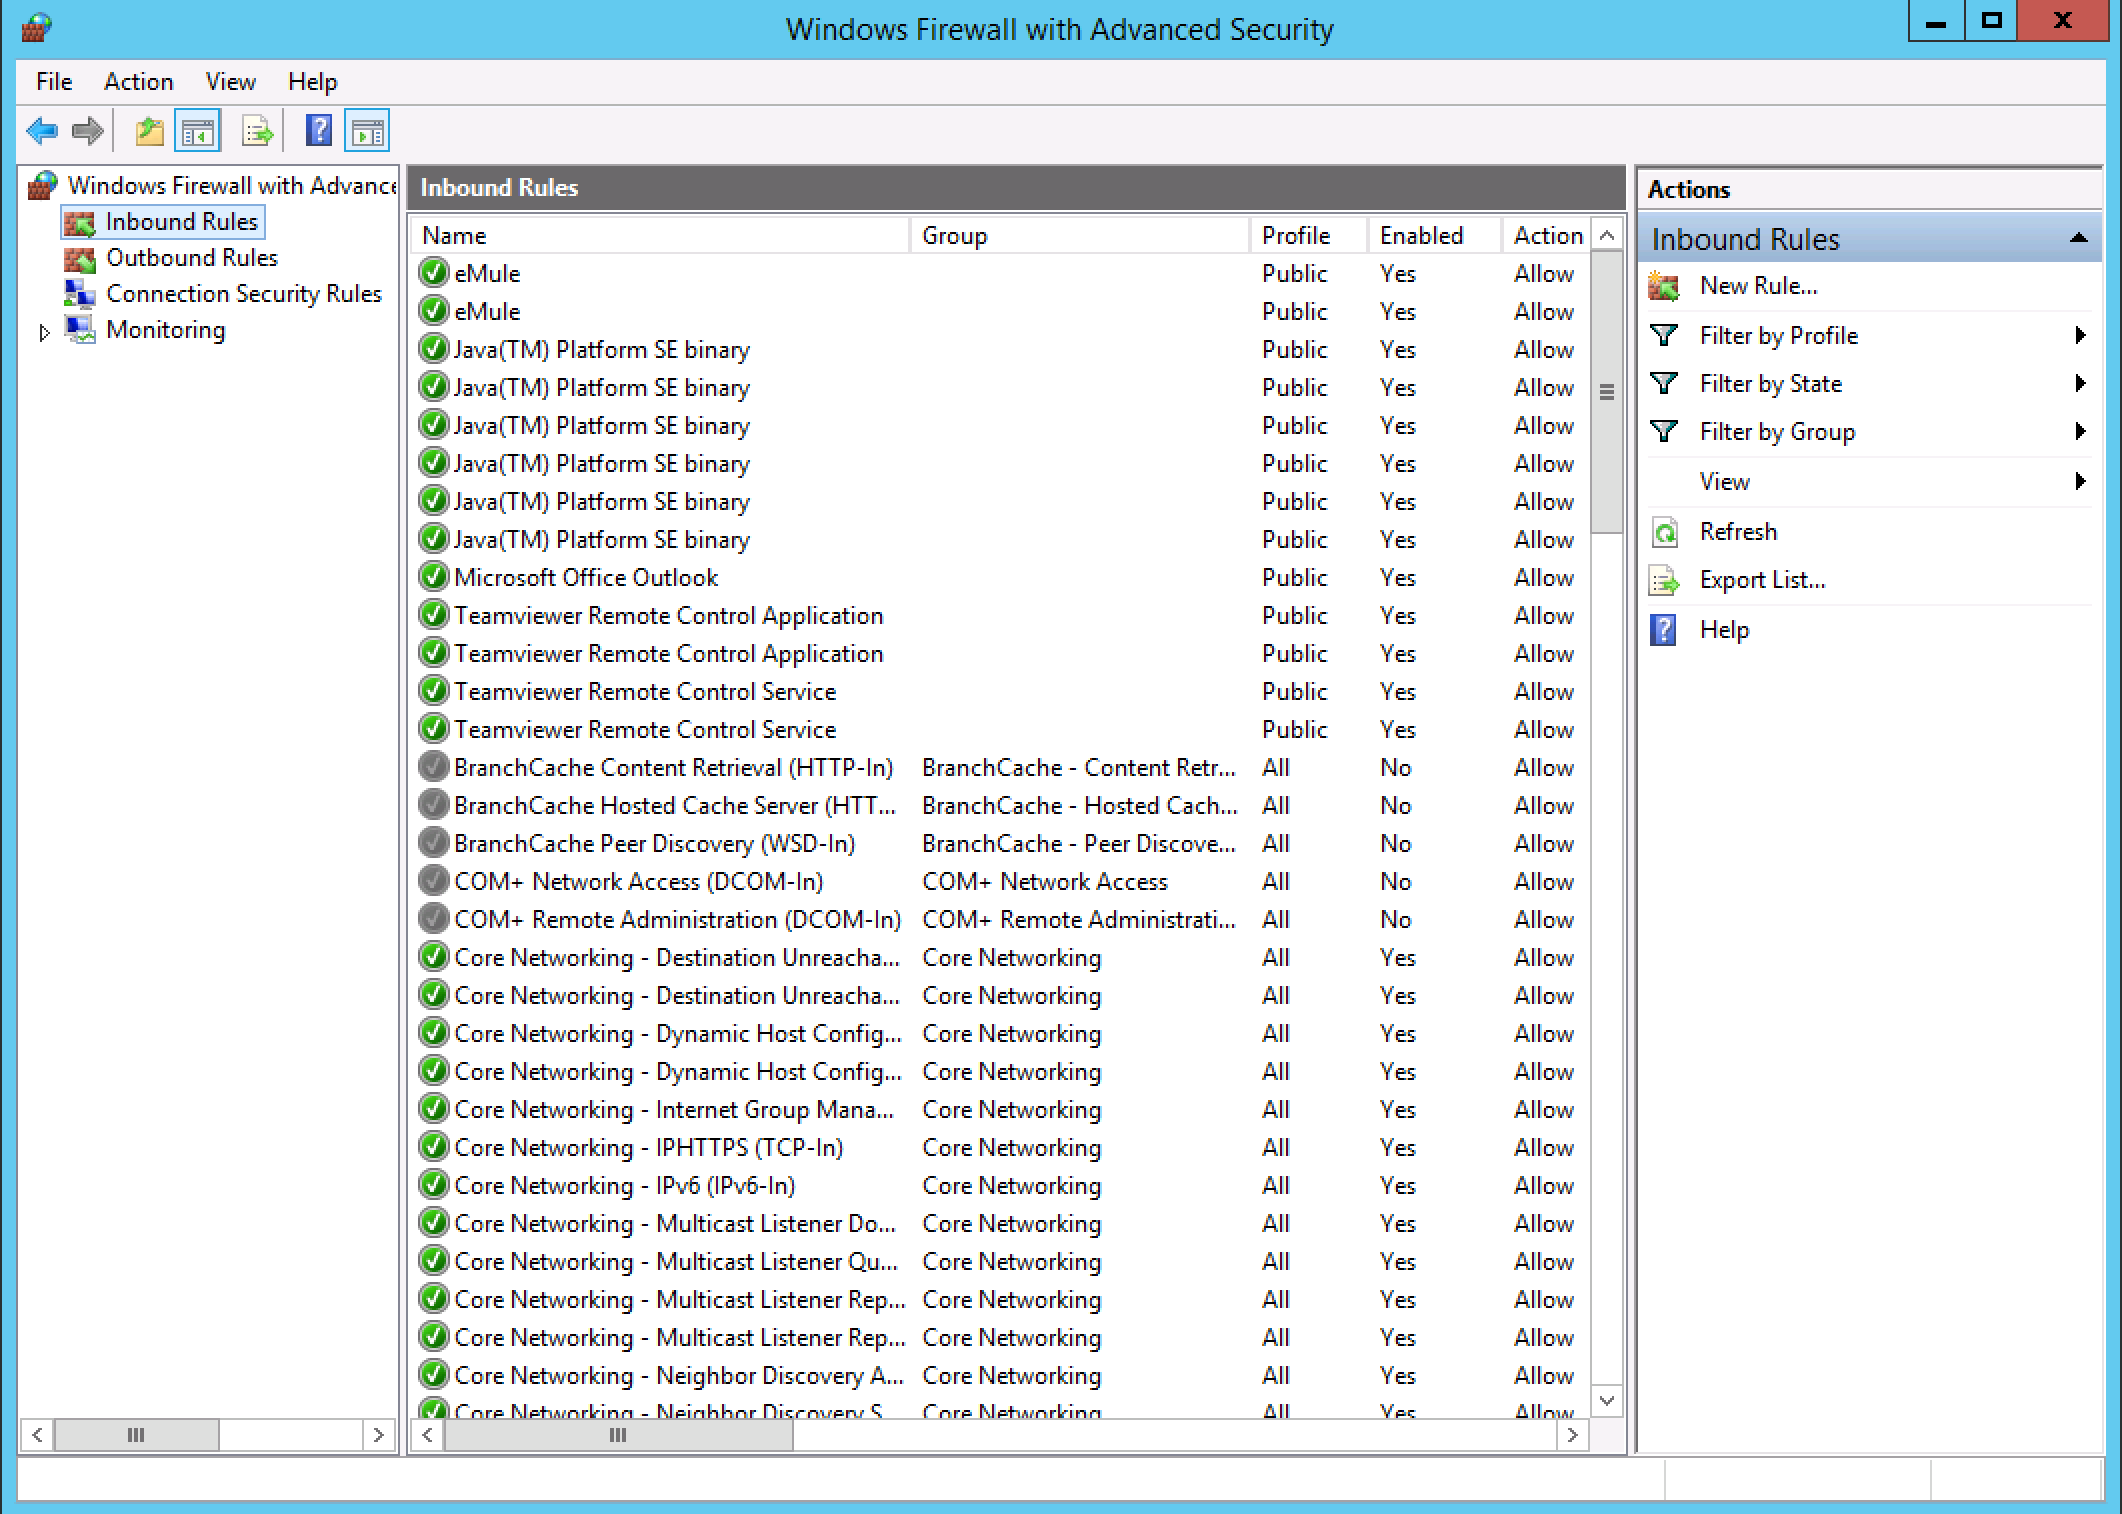
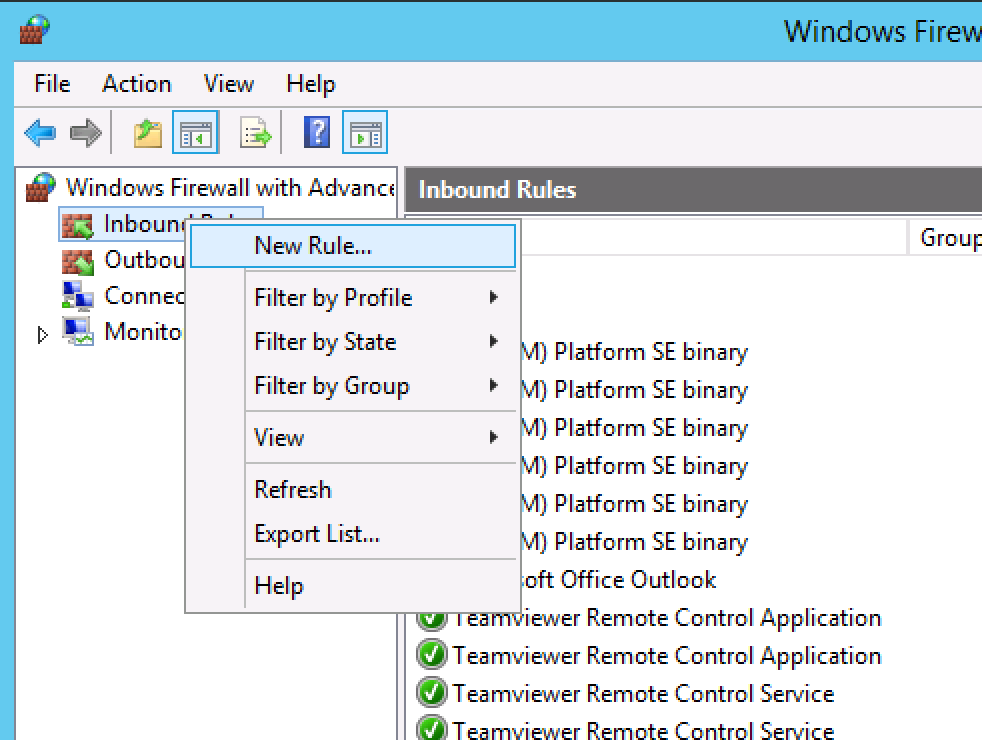
It is often useful to create both an inbound rule and an outbound rule for your application’s port. Repeat the following steps 2 times, once for Inbound, and once for Outbound. First, right-click “Inbound Rules” and select “New Rule…”
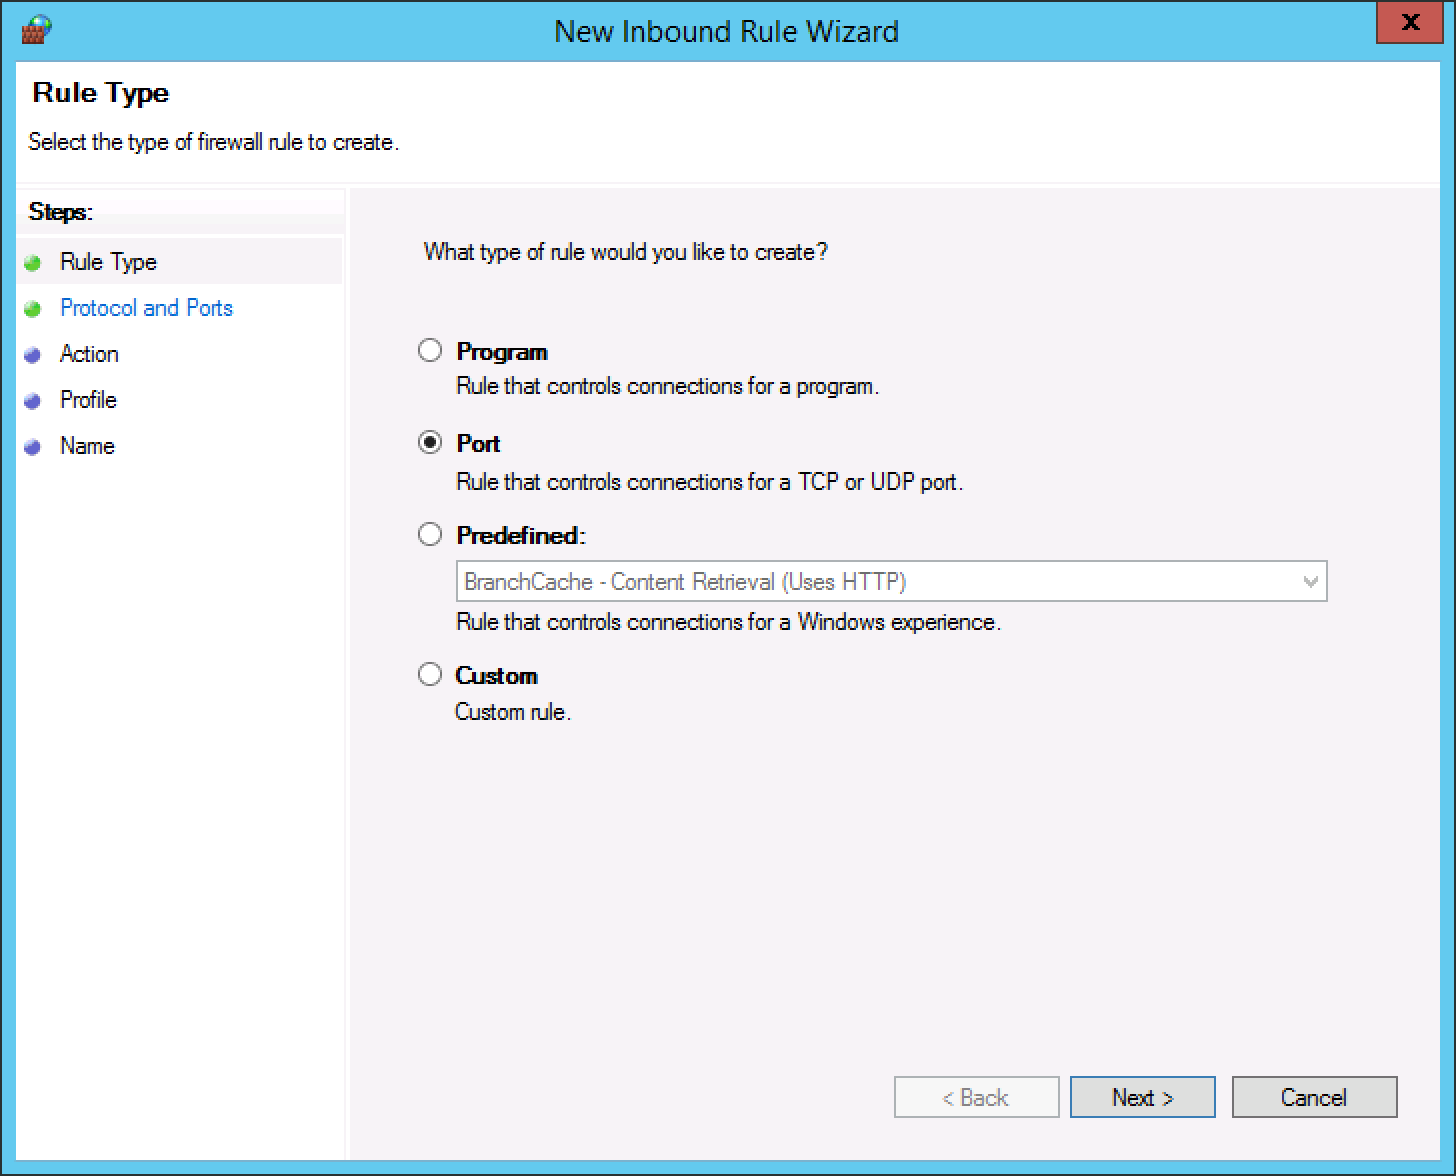
Choose the type of rule to setup. We are defining a specific Port number.
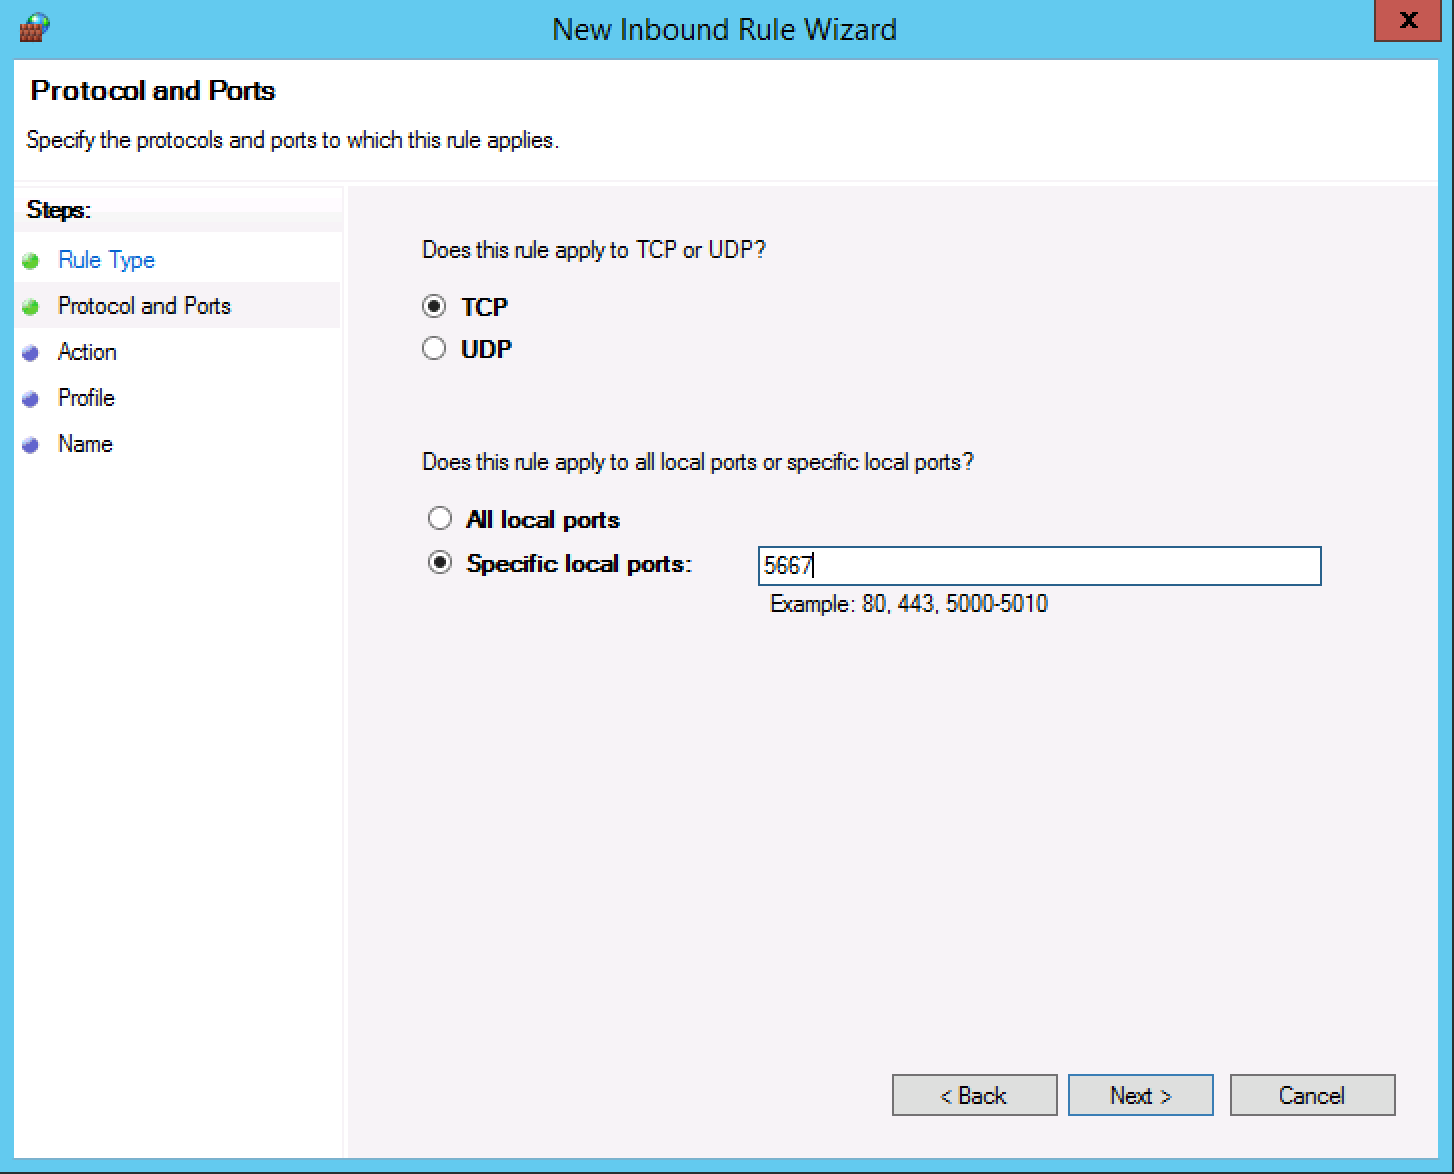
Type the port number your application uses, and choose TCP or UDP protocol (most applications use TCP).
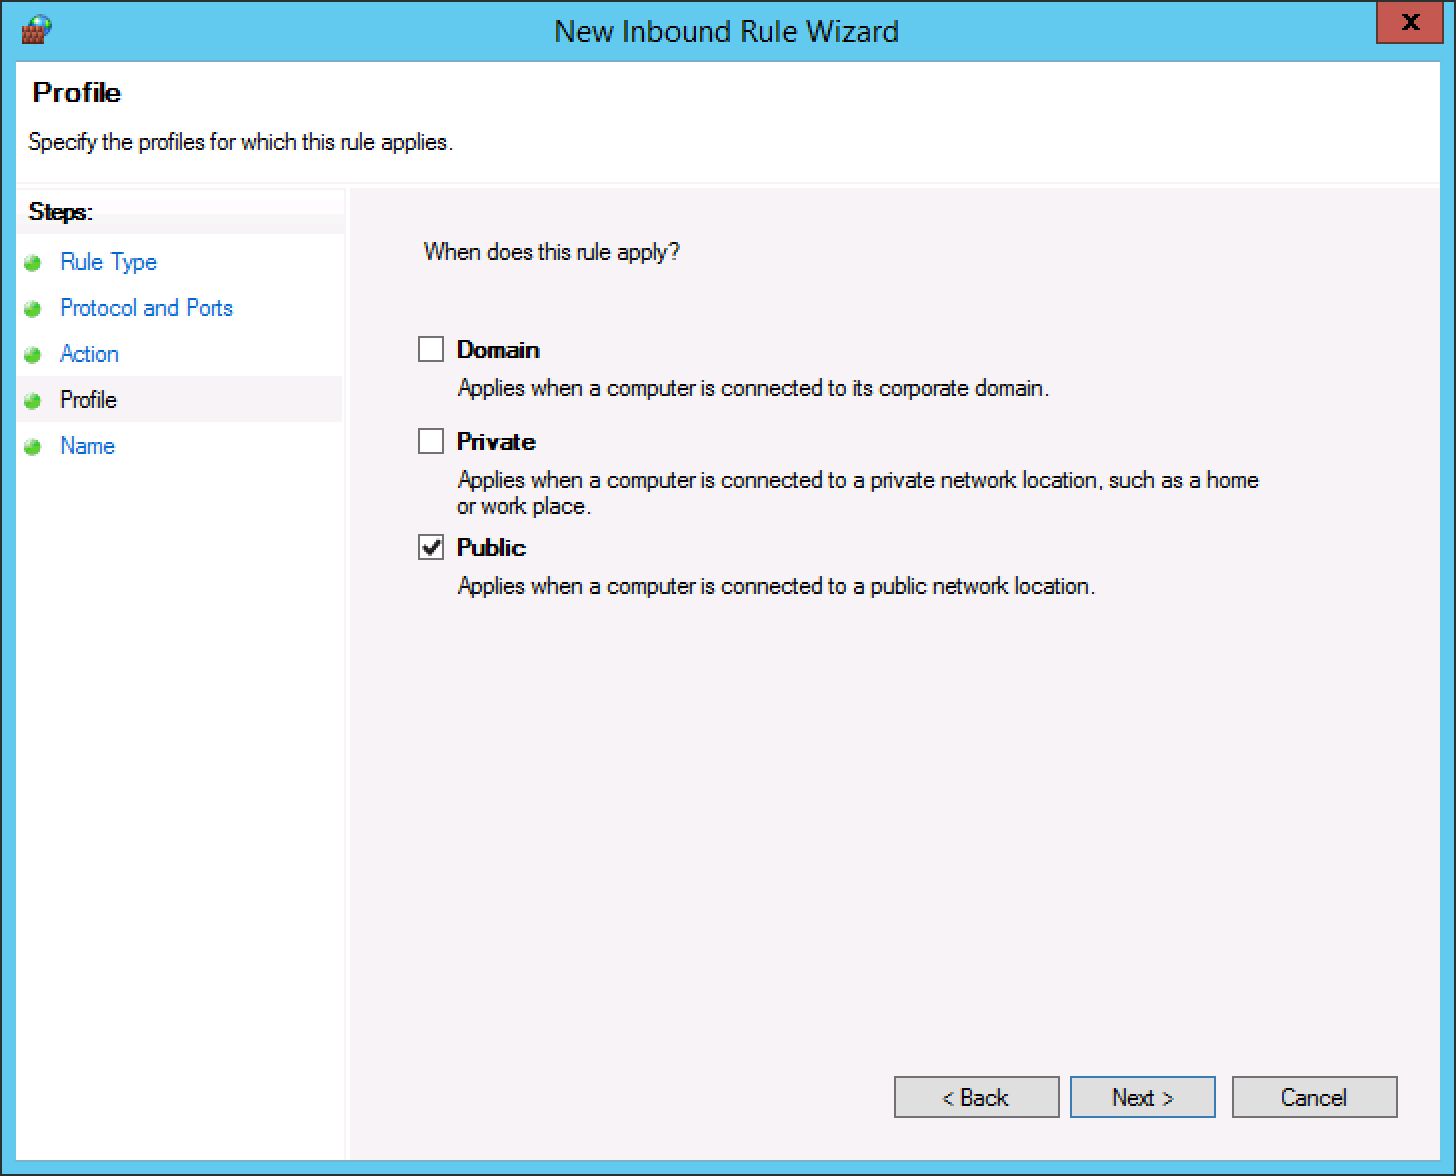
Select whether to apply the rule only on local (private) networks, or on public networks as well. You will want to select Public, most likely.
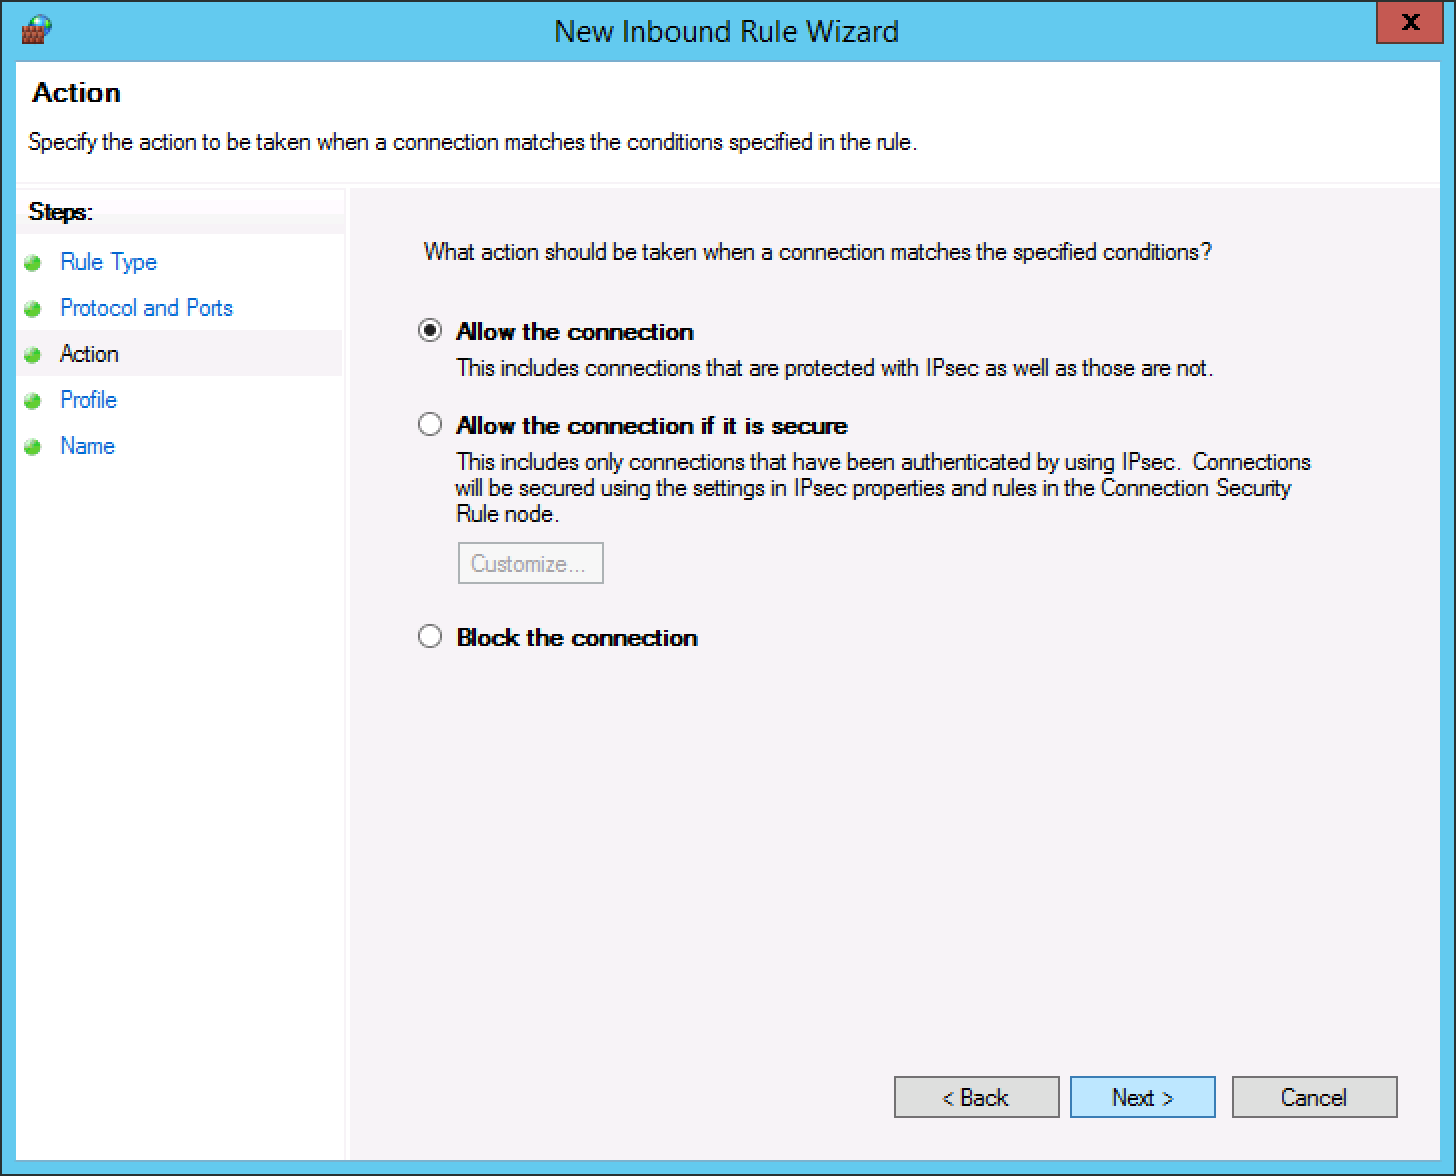
Finally, select whether this rule is for explicitly allowing connections on this port, or explicitly blocking connections on this port.
That’s it! The firewall rule will go into effect immediately, opening the port to traffic to (or from) your server. As we noted above, be sure to repeat the process as an Outbound rule, if you want to open a port for both sending and receiving.
Need help?
We are happy to help with opening ports and other Windows Server configuration questions!
This guide applies to:
- Windows Server 2016
- Windows Server 2012 R2
- Windows Server 2008 R2
- Windows Server 2008
- Windows 8
- Windows 7