When setting up a new VPS, one of the most common tasks is to link a domain name. The process is roughly the same as with a shared hosting account, although a VPS may or may not come with ready-made nameservers available.
Often, you will need to configure your own nameservers on a VPS. To avoid this and get started as quickly as possible, we will use an easy method to point a domain to a VPS (or other server).
Requirements:
- Domain name registered (.com, .net, etc.)
- Using default nameservers and DNS system of the registrar (default settings).
- IP address of your VPS or server.
Here are the instructions:
- Log in to your domain registrar (where your domain was purchased), for example Namecheap or GoDaddy. The example below is from Namecheap.
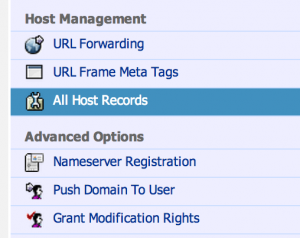
- Locate the section for adding or modifying DNS Zones. Look for “Records” or “Zones.”

- Choose your domain (if not already selected), and proceed to Add a new DNS record.
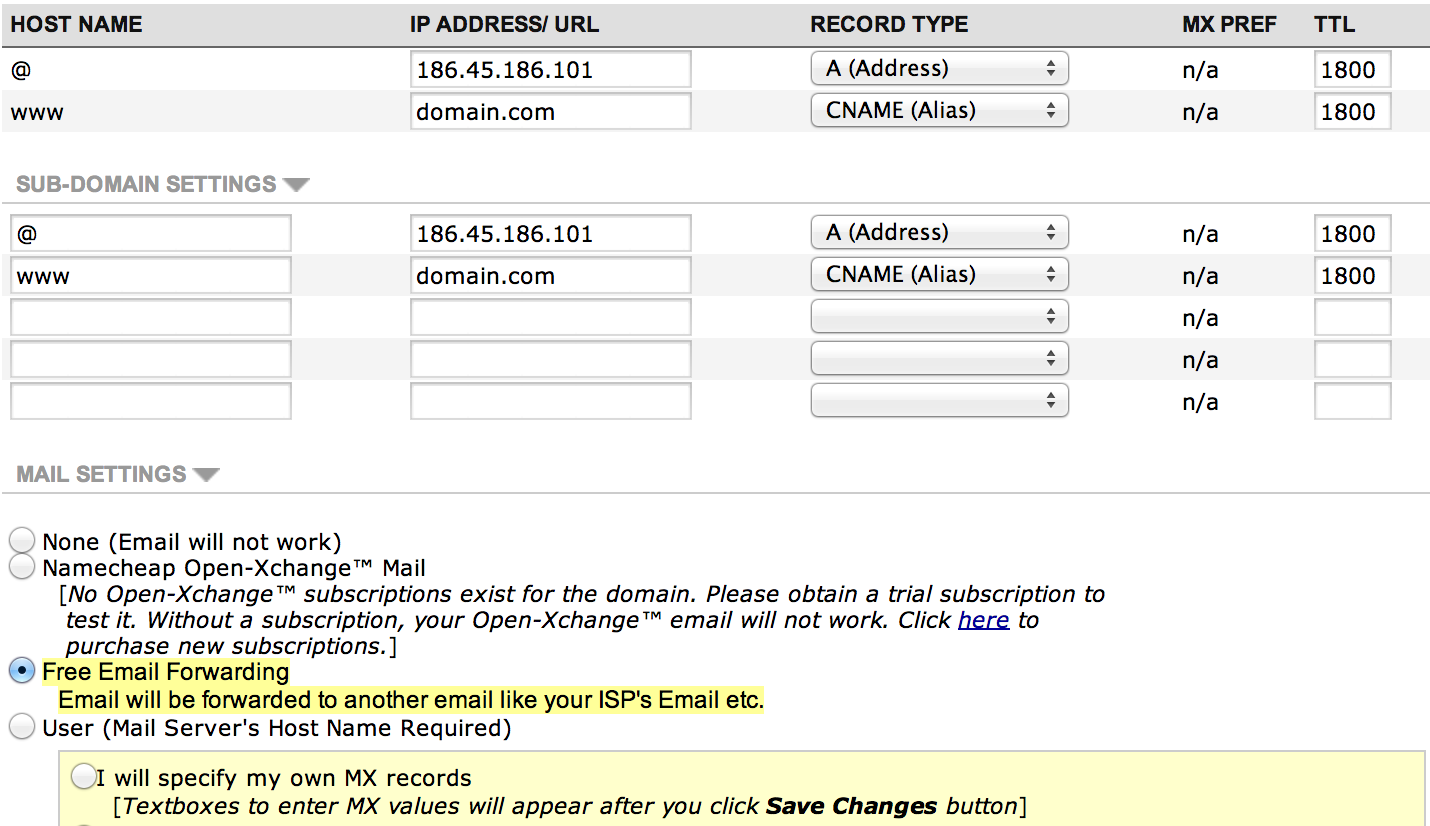
- Add a record of type “A” (Address Record). Fill in the fields like this:

- Additionally, add a CNAME record for “www”, pointing to “domain.com” (your domain) in order to use www.
Save the new settings, and exit. That’s it!
The crucial step is pointing “@”, which stands for your root domain ‘domain.com’, to the IP address of your VPS. The registrar’s nameservers will now host this record, and all traffic to your domain will be automatically routed to the server IP address.
Note that if your registrar’s format does not allow “@”, you can usually leave the ‘subdomain’ field empty, because you are entering a record for the root domain.


