Installing IIS With PowerShell
If you don’t have the GUI installed or just want to use the PowerShell command line interface (CLI) instead, follow these steps. This method is a lot faster than going through all of the GUI options.
- Open PowerShell with administrative privileges and run the Install-WindowsFeature cmdlet as shown below.
Install-WindowsFeature -name Web-Server -IncludeManagementTools

- Here we include the management tools so that you can manage IIS on this server, as these are generally installed when using the GUI, making this PowerShell command equivalent with the GUI method below. If you do not plan on managing IIS through this server then you may prefer to not include this option.
- Once the installation has succeeded, you’ll be returned to the PowerShell prompt. At this point IIS should be running on port 80 by default with the firewall rule “World Wide Web Services (HTTP Traffic-In)” enabled in Windows firewall automatically.
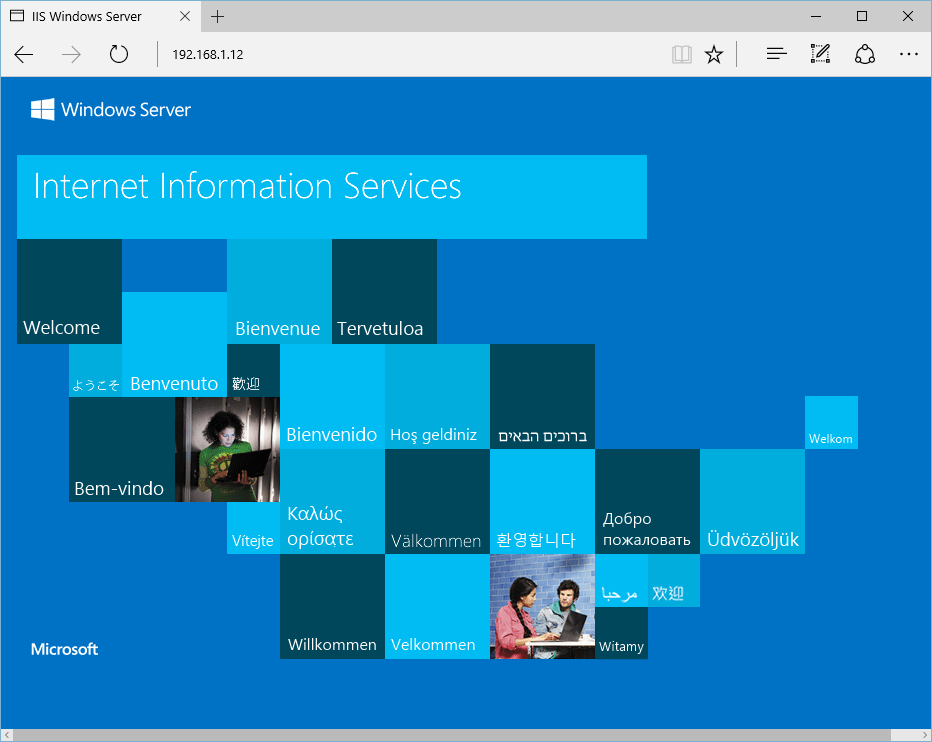
- We can perform a simple test by opening up a web browser and browsing to the server that we have installed IIS on. You should see the default IIS page.
This article applies to:
- Windows Server 2016


