Blog

How to use rdesktop for RDP (Ubuntu/CentOS Linux)

Remote desktop protocol (RDP) is supported by a few Linux applications, the most popular being rdesktop. It is available for most Linux distributions and for that reason we will demonstrate its usage below.

The Linux server show below is a CentOS server with GNOME desktop, but the same process should work with Ubuntu, Fedora, Mint, Debian, and other Linux distributions, taking care to use the distribution’s native package installer to install rdesktop.

How to Connect

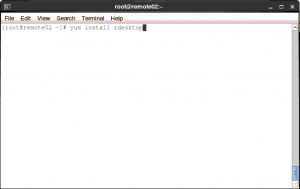
1. Open a local terminal (command prompt) session. For CentOS/Fedora, run “yum install rdesktop“. For Ubuntu/Debian, run “apt-get install rdesktop”. The program should be located and installed along with dependencies.

Screen Shot 2015-05-27 at 3.35.28 PM

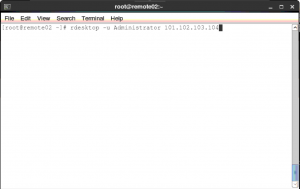
2. Next, use the rdesktop command to open a remote desktop session. The syntax is simple, change the following example using your Windows server’s username and public IP address: rdesktop -u Administrator 101.102.103.104

Screen Shot 2015-05-27 at 3.34.04 PM

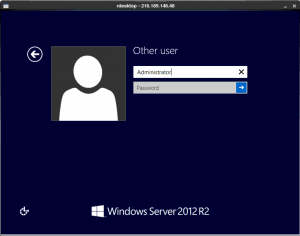
3. A new window will open with the remote Windows GUI. You should log in with the Windows system’s password.

Screen Shot 2015-05-27 at 3.34.27 PM

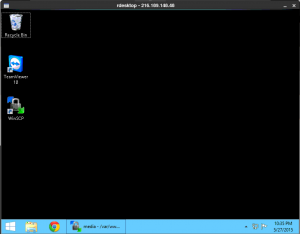
4. That’s it! Enjoy using your Windows remote desktop.

Screen Shot 2015-05-27 at 3.35.03 PM

If you experience any trouble with this process, or would like assistance connecting to a Windows server or Windows VPS, please don’t hesitate to contact our Technical Support team.

Posted in Guides & How To's, Tech Support, Windows Server, Windows VPS | Tagged , , , , | Leave a comment

How to use RDP on Android or iOS Device (Smartphone or Tablet)

In addition to Windows and Mac PCs, you can connect to a remote Windows VPS or Window server on your mobile device. This guide covers all of the most common devices including:

  • iOS devices: iPhone, iPad
  • Android devices: Smartphones, tables

We suggest using the official Microsoft Remote Desktop Connection (RDC) app for iOS or Android. You can find the app by searching your device’s app store for “Microsoft RDC”. The guide below uses an Android 4.x smartphone, but the process will be identical on iOS and other versions of Android.

How to Connect

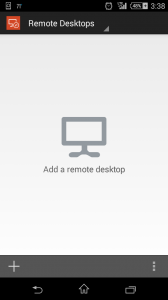
1. Open the Remote Desktop Connection (RDC) app. Select the “+” to add a new connection profile.

Screenshot_2015-05-27-15-38-56

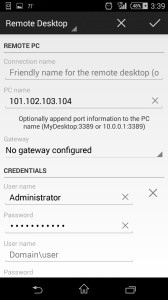
2. In the field “PC name”, enter the public IP address of your Windows VPS or Windows server. Fill in the Username and Password fields as well. The username is almost always “Administrator”, or “Admin” for Windows 8 and Windows 10. This info can be found in your service setup email titled “New Server Information,” or in the Secure Client Area.

Screenshot_2015-05-27-15-39-45

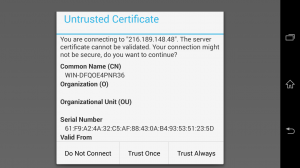
3. Tap the check-mark to save the connection. Now you can open a connection using the new profile. You might see a certificate warning like the one below, because the server’s SSL certificate is self-generated. This is OK, and you can choose “Trust Always.”

Screenshot_2015-05-27-15-40-20

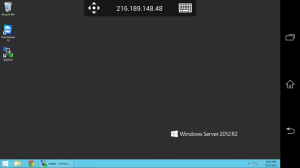
4. The remote Windows desktop will appear on your screen.

Screenshot_2015-05-27-15-41-10

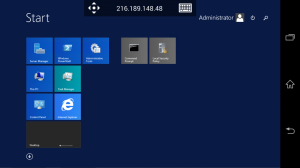
That’s it! Now you can view and control the remote Windows VPS or Windows server directly from your smartphone. How cool is that?

Screenshot_2015-05-27-15-41-14

If you experience any trouble with this process, or would like assistance connecting to a Windows server or Windows VPS, please don’t hesitate to contact our Technical Support team.

Posted in Guides & How To's, Tech Support, Windows Server, Windows VPS | Tagged , , , | Leave a comment

Connect to Remote Desktop (RDP) in Chrome or Chrome OS

This guide covers how to connect to a remote desktop using RDP in Chrome and Chrome OS devices like Chromebooks. This is a very useful method for connecting to Windows servers and Windows VPS instances.

How to Connect

1. Download the app Chrome RDP from the Chrome app store. After installation, it will be available on your Chrome launch screen and App Launcher. Open Chrome RDP.

Screen Shot 2015-05-27 at 3.52.24 PM

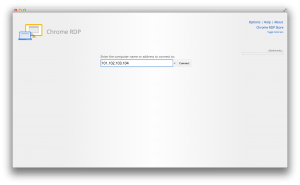
2. Enter the remote Windows server or Windows VPS instance’s public IP address. Click Connect.

Screen Shot 2015-05-27 at 3.52.42 PM

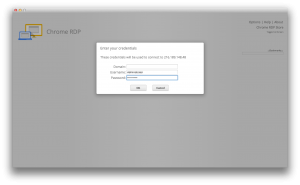
3. Next, Chrome RDP will prompt for the remote Windows server’s username and password.

Screen Shot 2015-05-27 at 3.53.01 PM

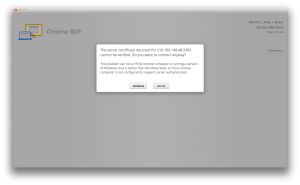
4. You may receive a warning related to the server’s SSL certificate, because it is self-generated. This is OK and you can continue.

Screen Shot 2015-05-27 at 3.52.51 PM

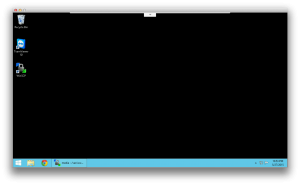
5. That’s it! Chrome RDP will open the remote desktop session directly in Chrome. You can control the remote Windows server exactly like a local PC.

Screen Shot 2015-05-27 at 3.53.22 PM

If you experience any trouble with this process, or would like assistance connecting to a Windows server or Windows VPS, please don’t hesitate to contact our Technical Support team.

Posted in Guides & How To's, Tech Support, Windows Server, Windows VPS | Tagged , , , | Leave a comment

8 New OS Templates Available for Linux & Windows VPS

New operating systems are now available for installation on all VPS instances. You can deploy new instances with the updated OS templates, or reinstall existing VPS instances from the VPS panel (https://panel.solvps.com/).

We have updated all supported Linux distributions to the latest stable releases, including the newest versions of CentOS and Debian, in addition to new releases of our Windows Server templates including the latest updates from Microsoft.

Updated Linux VPS templates:

  • CentOS 7.1 
  • Debian 7.8 (x64 and 86)
  • Fedora 21
  • Arch Linux 2015.02

Updated Windows VPS templates:

  • Windows Server 2012 R2 Standard
  • Windows Server 2008 R2 Standard
  • Windows Server 2008 Enterprise SP2 (x86)

The new Windows Server 2012 R2 Standard and Server 2008 R2 Standard builds are freshly updated with the latest software updates from Microsoft. In addition, we have added another build of Windows Server 2008 to support 32-bit applications. Server 2008 SP2 was the last 32-bit-only version of Windows Server released, and will remain long-term in our library to support clients who require a 32-bit environment for specific applications.

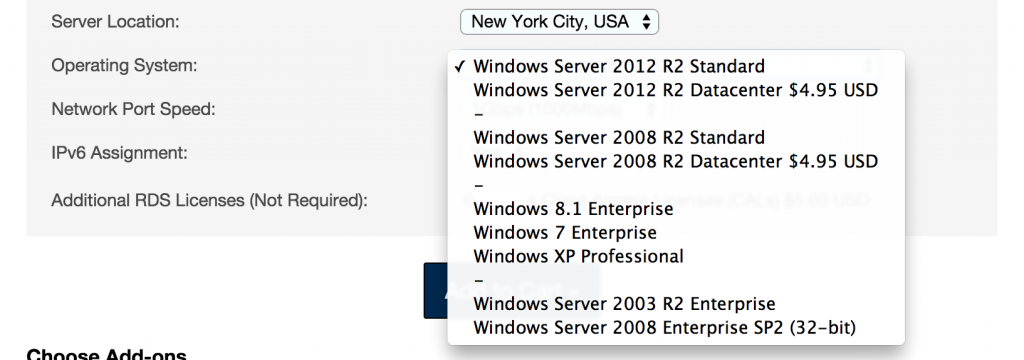
Here is a preview of the Windows VPS order form, with options for any Windows OS to suit your needs:

Screen Shot 2015-05-25 at 2.52.41 PM


Spin up any of these operating systems instantly with our Windows VPS and Linux VPS hosting services. Please contact us with any questions!

Posted in Announcements, Company News | Tagged , , , , , | Leave a comment

New Updates to the Services Dashboard

Today we have completed a number of small updates to the Secure Customer Portal.

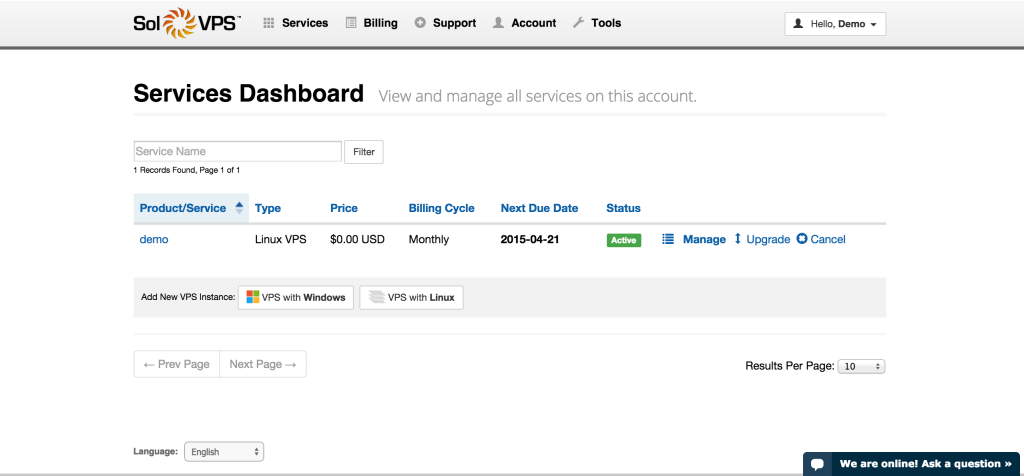
We have updated the main Services Dashboard, where customers can view and manage the virtual server instances, and other products, assigned to their account.

In addition, we have updated the “Manage” and “Upgrade” options for server instances, to complement a more streamlined and user-friendly workflow. We hope that these changes will make it easier to get done what you need to get done, with minimal stress.

Here is a preview of what you will find inside the Secure Customer Portal:

clientportal-1

clientportal-3 clientportal-2

More updates coming soon!

Posted in Announcements, Company News | Tagged , , , | Leave a comment

How to Open Event Viewer Log in Windows Server / VPS

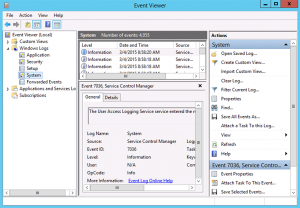
The Event Viewer in Windows Server is useful for viewing server access logs, who logged in to the server via RDP, when the last shutdown occurred, and other logged system actions.

windows-eventvwr-2

To open the Event Viewer (Log Viewer),  navigate to:

Start > Control Panel > System & Security > Administrative Tools > Event Viewer

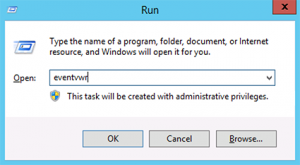
Alternatively, open Command Prompt and type eventvwr to launch Event Viewer via command line.

windows-eventvwr-1

This article applies to…

  • Windows Server 2012 R2
  • Windows Server 2008 R2
  • Windows Server 2003 R2
Posted in Guides & How To's, Tech Support, VPS Hosting, Windows Server, Windows VPS | Tagged , , , , | Leave a comment

Disable Apache Server Signature via .htaccess (Linux Server)

For a server running Apache web server in a production environment, it is advisable to disable Server Signatures. These signatures displayed on error pages, and in other communications with the web server, may reveal sensitive information about the software versions running on the web server.

To disable server signatures via .htaccess, first locate (or create) the .htaccess file in the www directory. Add the following line to the file:

ServerSignature Off

It can also be done by modifying the httpd.conf file (also called apache2.conf in some systems). In httpd.conf, change these two settings, or add them to the bottom of the file if not present:

ServerSignature Off
ServerTokens Prod


Posted in Guides & How To's, Linux VPS, Security, VPS Hosting | Tagged , , , | 2 Responses

How to Add IP Addresses to Windows Server 2012 R2, 2008 R2, 2003

There are two methods for adding additional IP addresses to Windows Server 2012, using the GUI and command prompt. The same methods work to add IP addresses to Windows Server 2008 and 2003. We will walk through both methods below.

Method 1: Use netsh command (cmd)

The command prompt method is fastest and we suggest it first. To add IP addresses to a Windows VPS or Windows Server, first open Command Prompt at Start > Run  > cmd.

Enter the command for each new IP address to add to the system:

netsh interface ipv4 add address “Local Area Connection” 192.168.1.2 255.255.255.0

Edit the IP address (italic) with your additional IP. The subnet mask is usually 255.255.255.0.


Method 2: Add IP Addresses to Windows in Network Adapter Settings (GUI)

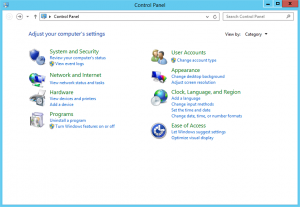
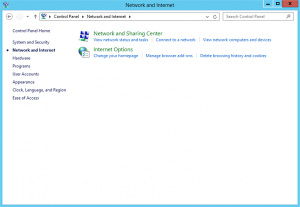
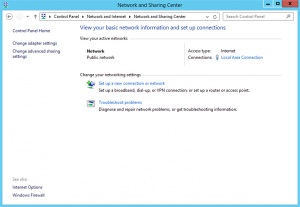
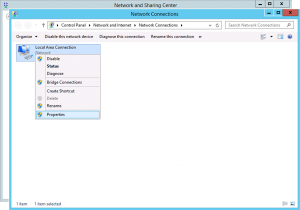
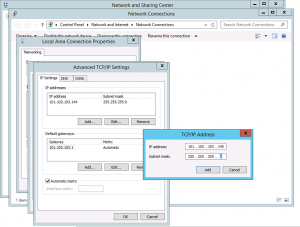
Navigate to Control Panel > Network & Internet > Network Connections and Change Adapter Settings. Right click “Local Area Connection” and choose Properties.

Untitled-2  Untitled-3

Untitled-4Untitled-6

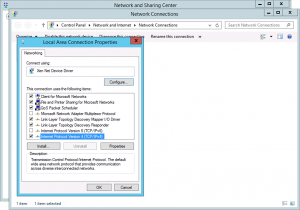
Select TCP/IPv4 and click Properties.

Untitled-7

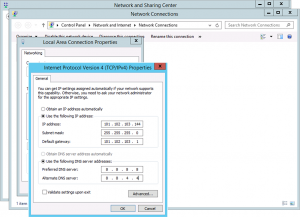
Check that your server is configured to use a specific IP address, netmask, and gateway. (This is the public IP address of your Windows VPS or server. If you don’t know what to enter, please contact us.)

Untitled-8

Click Advanced… and Add to enter your additional IP addresses on the next pane. In most cases they will use the same Subnet mask as the primary IP.

Untitled-9

Once all the IP addresses are configured, click OK through all of the settings windows. The IP addresses are now connected to the system.

This article applies to…

  • Windows Server 2003 R2
  • Windows Server 2008 R2
  • Windows Server 2012 R2
Posted in Guides & How To's, Tech Support, VPS Hosting, Windows Server, Windows VPS | Tagged , , , , | Leave a comment

RDNS (PTR) Automatic Management Now Available

We are pleased to announce that Reverse DNS (PTR) Record Management is now available in the Secure Client Panel. RDNS record management is completely automated, so you can create and update  PTR records for your IP addresses at any time.

To add RDNS records, first log in to the Secure Client Panel at: https://www.solvps.com/secure/

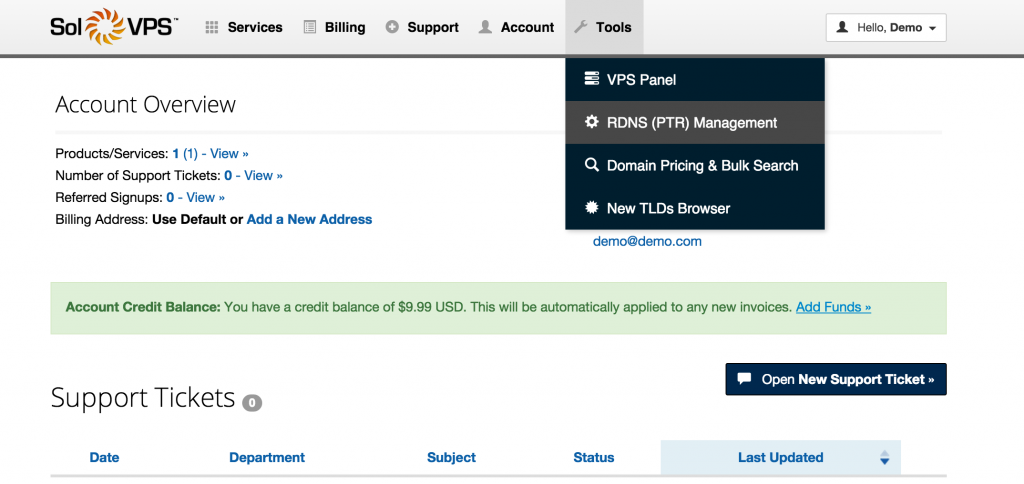
You can find RDNS (PTR) Management in the Tools menu:

Screen Shot 2015-01-23 at 7.06.43 PM


It’s easy to add Reverse DNS records. Simply choose the IP address you would like to create a PTR record for, and enter the domain name or hostname that is located at the IP address.

For questions or technical support, please contact us.

Posted in Announcements, Company News, Maintenance & Service Updates, Tech Support | Tagged , , , , | Leave a comment

Chrome Now Included with all Windows VPS Builds

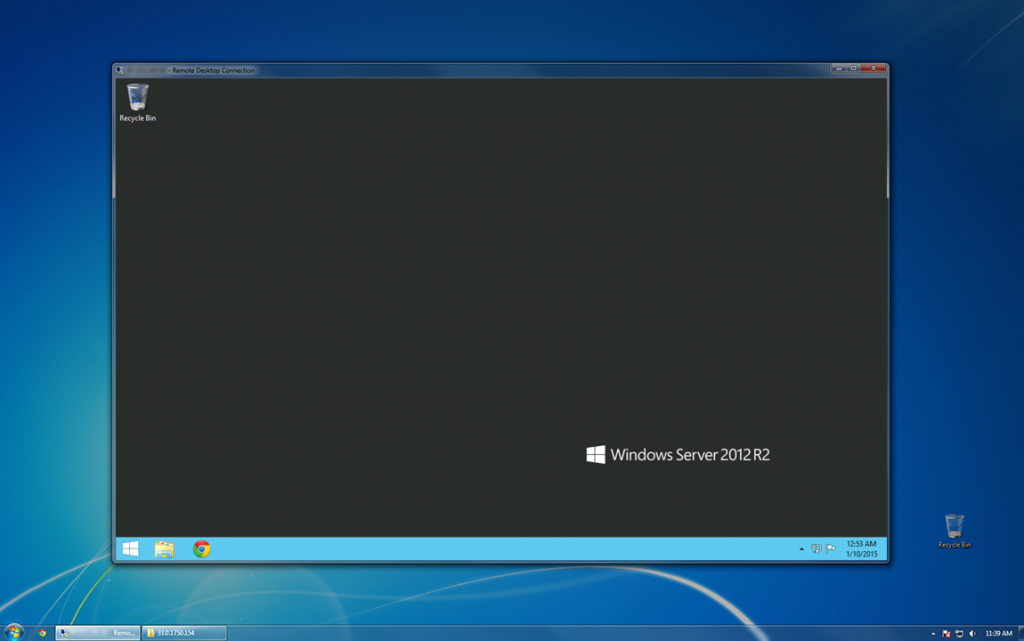
By popular demand, Google Chrome is now included with our base Window Server installations.

Chrome is available in the Windows taskbar to launch, and we suggest using it for quick, secure, and resource-efficient Web browsing.

Thanks to everyone who suggested including Chrome!

windows-2012-vps-screenshot-1

Posted in Announcements | Tagged , , | 2 Responses


Questions? We're here to help.